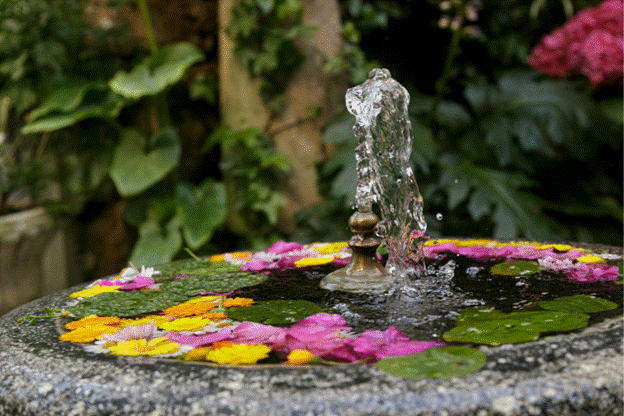
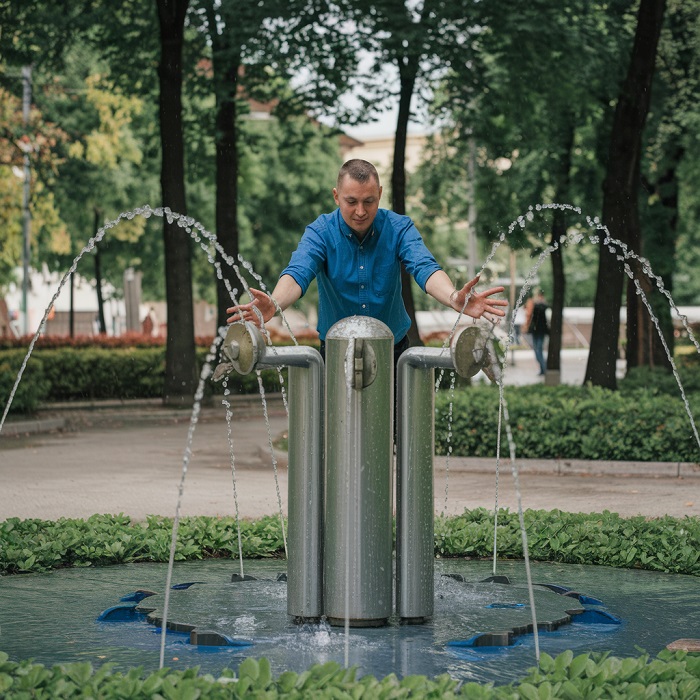
A solar pond fountain adds beauty and movement to any backyard pond, promoting a healthier ecosystem. Unlike traditional electric fountains, solar-powered fountains harness the sun’s energy to create elegant water displays without increasing energy bills or relying on the power grid. Installing a solar fountain enhances the visual appeal of your pond and improves water circulation and oxygen levels, supporting aquatic life and reducing algae growth.
Solar fountains are easy to install and environmentally friendly. They require minimal maintenance and operate using clean, renewable energy. This step-by-step guide will walk you through setting up a solar pond fountain, helping you create a beautiful and sustainable focal point for your backyard.
Benefits of a Solar Pond Fountain
Installing a solar-powered pond fountain offers several benefits beyond its visual appeal:
1. Eco-Friendly and Sustainable
Solar fountains rely on sunlight, reducing the need for electricity. This lowers your carbon footprint and supports sustainable energy use.
2. Improved Water Quality
Circulating water prevents stagnation, reducing algae and harmful bacteria buildup. Increased oxygen levels also support healthier fish and plant life.
3. Cost Savings
Once installed, a solar fountain operates without any ongoing energy costs. Sunlight is free, making this an energy-efficient and budget-friendly option.
4. Easy Installation and Maintenance
Solar fountains typically require fewer parts and less wiring than electric models. Their simple design makes them easy to install and maintain.
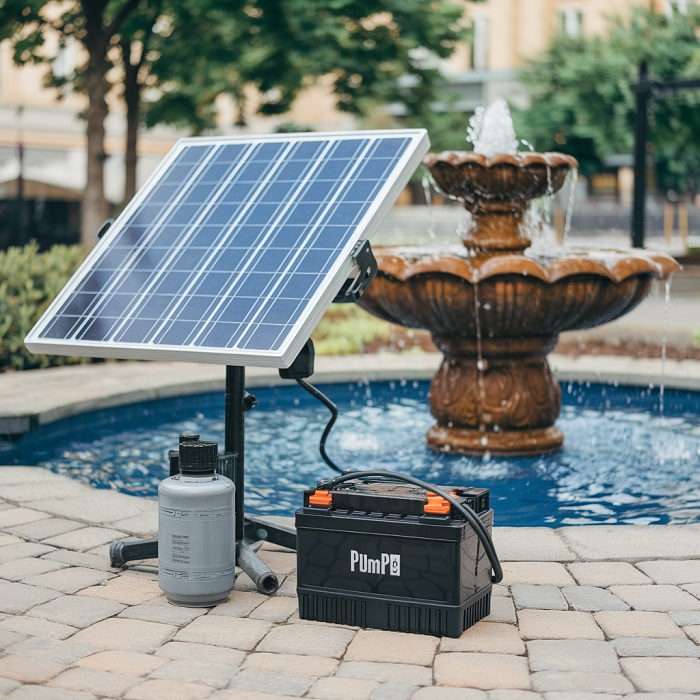
Tools and Materials Needed
Before starting the installation, gather the necessary tools and materials:
Materials:
- Solar pond fountain kit (including pump, solar panel, and tubing)
- Anchoring materials (if needed)
- Extension cord for solar panel (optional)
Tools:
- Measuring tape
- Utility knife
- Level
- Adjustable wrench
- Screwdriver
Ensure the solar fountain kit includes all necessary components. High-quality solar fountains are available from reputable sources like Your Pond Pros (visit website).
Step 1: Choose the Right Location
Consider Sunlight Exposure
Solar fountains require direct sunlight to operate efficiently. Choose a location that receives at least six hours of direct sunlight each day. Partial or shaded areas can reduce performance and water flow.
Ensure Proper Pond Depth
Most solar fountains work best in ponds with 18 to 24 inches depth. Ensure the pond bottom is stable and free from sharp rocks or debris that could damage the fountain pump.
Position for Visual Impact
Place the fountain where it enhances the overall look of your backyard. Consider visibility from outdoor seating areas or windows to maximize enjoyment.
Step 2: Assemble the Solar Fountain Kit
Read the Manufacturer’s Instructions
Carefully review the included manual for specific assembly guidelines. Most solar fountain kits include a pump, solar panel, tubing, and nozzles for different spray patterns.
Connect the Tubing
Attach the tubing to the pump’s outlet. Ensure the connection is tight to prevent leaks or pressure loss.
Install the Spray Nozzle
Choose a spray nozzle that suits your pond’s size and aesthetic. Attach the nozzle securely to the tubing. Test the fit before securing the pump.
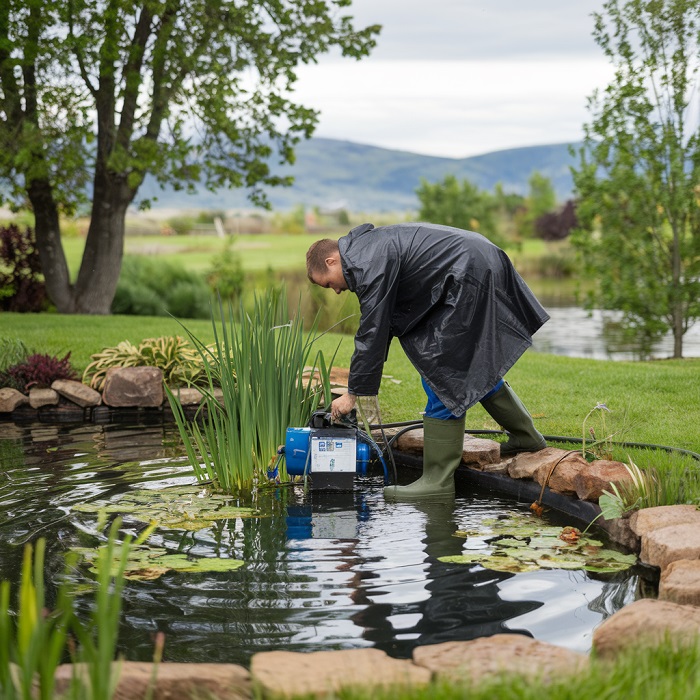
Step 3: Install the Pump in the Pond
Submerge the Pump
Lower the pump into the pond and position it at the desired depth. Use a level to ensure the pump sits evenly on the pond floor.
Anchor the Pump (Optional)
If the pump floats or shifts position, use rocks or weighted anchors to hold it. Avoid covering the pump’s intake with debris or plants.
Adjust the Position
Position the pump near the pond’s center for an even spray pattern. Place it near aquatic plants or decorative rocks for a more natural look.
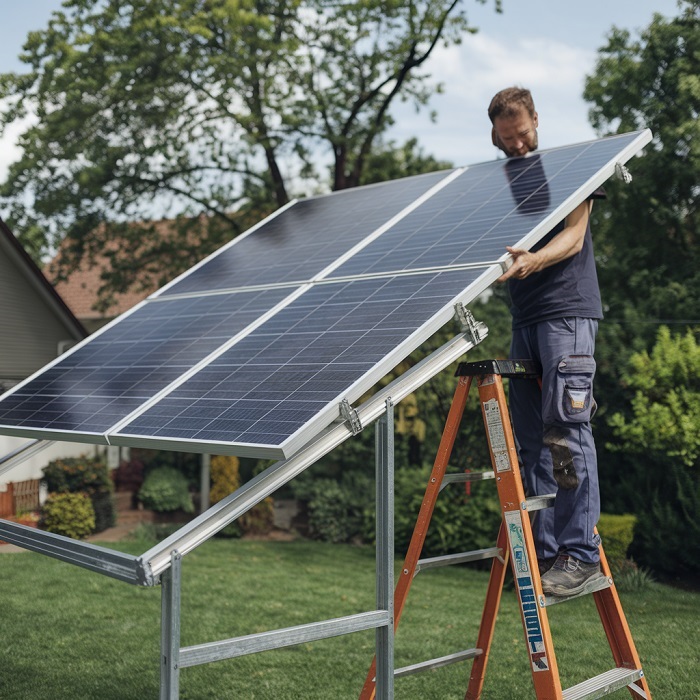
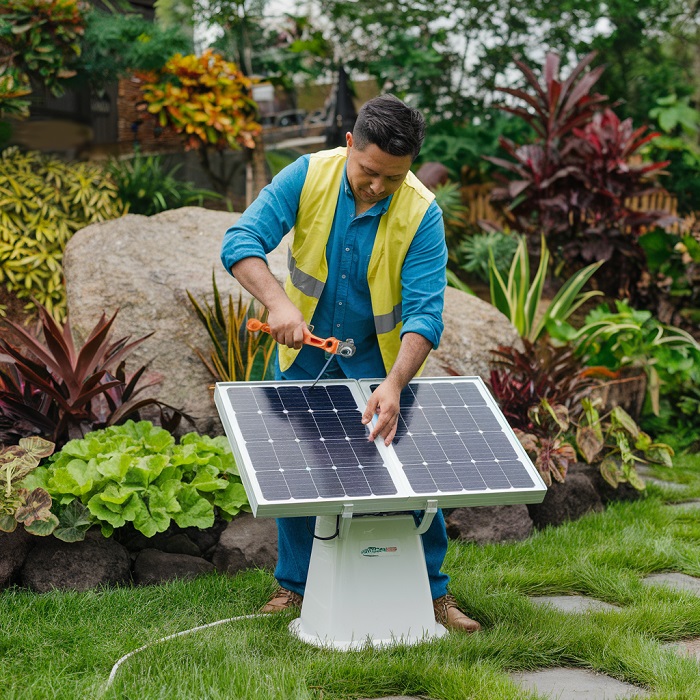
Step 4: Install the Solar Panel
Position the Solar Panel for Maximum Sunlight
Place the solar panel in a location that receives full sunlight throughout the day. Mount it on a pole or bracket for stability. If you’re in the Northern Hemisphere, ensure it faces south to maximize sun exposure.
Secure the Solar Panel
Use the included mounting hardware to secure the solar panel. If using a ground stake, push it firmly into the soil. For wall mounting, use a level to ensure the panel sits evenly.
Connect the Solar Panel to the Pump
Run the cord from the pump to the solar panel. Most kits have waterproof connectors to protect the wiring from moisture. Keep the cord away from sharp objects or potential tripping hazards.
Step 5: Test the Fountain
Prime the Pump
Before starting the fountain, fill the pump and tubing with water. This helps prevent airlocks and ensures a steady flow of water.
Turn On the Fountain
Activate the solar panel by exposing it to sunlight. The pump should begin circulating water within a few seconds.
Adjust the Spray Pattern
Most solar fountains have adjustable nozzles to control the height and shape of the spray. Adjust the settings to achieve the desired look and minimize water loss from splashing.
Step 6: Fine-Tune and Secure Components
Adjust the Solar Panel Angle
Tilt the solar panel to maximize sunlight exposure throughout the day. Minor adjustments can significantly improve performance.
Secure the Pump and Tubing
Ensure the pump remains in place as the water circulates. Adjust the tubing and nozzle to maintain a consistent flow.
Monitor Water Levels
Solar fountains can increase water evaporation. Check the pond’s water level regularly, especially during hot weather, and top up as needed.
Step 7: Maintain the Fountain for Long-Term Performance
Clean the Pump and Nozzles
Debris and algae can clog the pump over time. Remove the pump and rinse it with clean water every few weeks. Use a soft brush to clean the nozzles.
Remove Algae and Debris
Skim the pond’s surface regularly to remove floating debris and prevent algae buildup.
Protect the Solar Panel
Wipe the solar panel with a soft cloth to remove dust and dirt. Clean the panel monthly to maintain optimal sunlight absorption.
Winterize if Necessary
If you live in a colder climate, remove the pump and solar panel before the first freeze. Store them indoors to prevent damage from ice or freezing temperatures.
Troubleshooting Common Issues
Weak or Inconsistent Water Flow
- Ensure the solar panel receives direct sunlight without obstructions.
- Check for debris blocking the pump’s intake or tubing.
- Adjust the angle of the solar panel to improve exposure.
No Water Flow
- Confirm that all connections between the pump and solar panel are secure.
- Prime the pump to remove airlocks.
- Test the solar panel with a multimeter to confirm it’s generating power.
Why Choose a Solar Fountain?
Solar fountains offer an energy-efficient and environmentally friendly pond aeration and decoration solution. They create gentle water movement, reducing algae growth and improving water quality. With no ongoing energy costs and minimal maintenance, solar fountains are a smart choice for homeowners looking to create a greener backyard.
Conclusion
Installing a solar pond fountain enhances your backyard’s beauty while supporting a healthier pond ecosystem. Solar fountains use clean, renewable energy, reducing environmental impact and lowering energy costs. The installation process is straightforward, requiring only essential tools and a few hours of work.
A well-positioned and maintained solar fountain creates a striking focal point while improving water circulation and oxygen levels. Your solar fountain will provide years of sustainable beauty and performance with regular cleaning and minor adjustments. Taking the time to install a solar pond fountain transforms your pond into a peaceful, eco-friendly retreat.